Watching Kubernetes Objects
Have you ever felt the need to know whenever a particular Kubernetes resource has either been added, modified or deleted inside your cluster? No? Well, now you do! In this episode, we’ll be implementing an application that can hook into the Kubernetes API and do exactly just that!
Overview
+-----------------+ |
The figure above describes how our application will work on a high-level. Now, before we proceed with the implementation, our first line of business (and the main one) would be, how do we actually perform the “watches” action to the API Server?
A valid answer would be to just poll the API server every say, 2 seconds and compare the results from the previous one. I’m sure some of you are already raising your eyebrows and already thinking “Is there another way?” Fortunately, the good people behind the Kubernetes API has already thought about this and has included a Watch capability for all resource types. They’ve already packaged everything we need neatly (In what way was the object mutated? What are the specs of the object?) so we’ll use this.
Side note: This is the mechanism used by Kubernetes native controllers as well but that’s a topic for another episode.
API Server Shenanigans
Our next problem would be, how do we connect to the API Server? Running kubectl cluster-info reveals our API servers URL:
Kubernetes master is running at https://localhost:6443 |
Egad! HTTPS, our nemesis! Let’s see if we can bypass the certificate check (THIS IS BAD, WE ARE ONLY DOING THIS FOR SCIENCE BUT SERIOUSLY NO, DON’T DO THIS) using curl -k https://localhost:6443:
{ |
Well, it sorta works but it looks like Kubernetes also checks that you are whom you say you are. If we are really persistent, we can get the token required for authentication using our previous method. Putting everything together gives us curl -k -H "Authorization: Bearer $TOKEN" https://localhost:6443 yielding:
{ |
Success! Also, did I mention that we can achieve the same thing with kubectl proxy?
kubectl proxy |
Implementation
Now that we have working knowledge on how to hook into the API server, let’s get into the fun stuff. For the implementation, we’ll be using the official Python client for Kubernetes which should perform most of the heavy lifting for us. Also, it looks like it’s our lucky day! This client already supports the Watch capability so it’s just a matter of figuring out how to support watching of multiple resources.
Before you break out that asyncio library, we have one problem, the client is purely synchronous. Our event loop can’t progress at all if the event it’s currently processing is blocked. We’ll have to use threads instead.
Our threading strategy is described in full below:
+---------------------------+ |
Each of the Kubernetes resource thread waits for any events pushed by the API server and just stores it to the global buffer queue. Our main thread then waits for new entries in the queue and processes it (for our implementation, we just print out the details of the event).
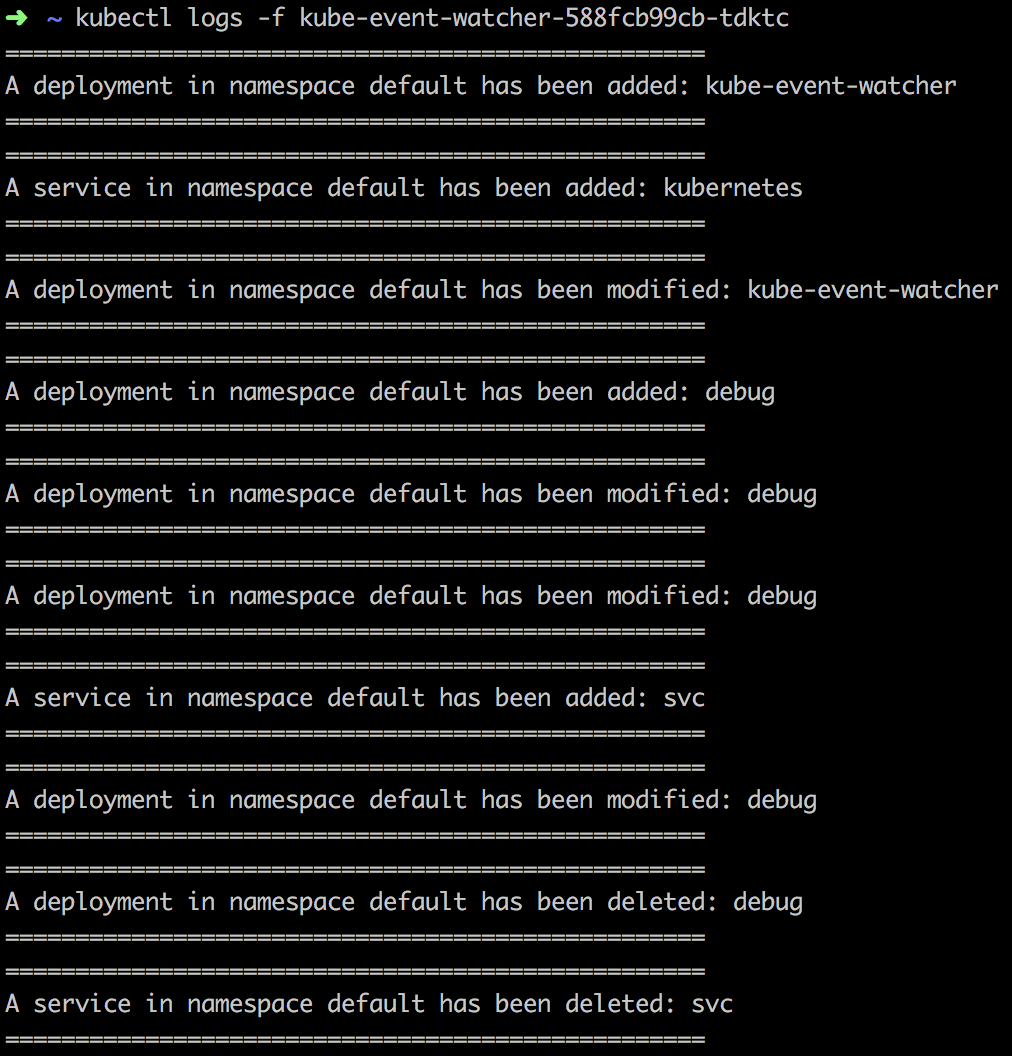
You can find the complete implementation here along with the Helm chart so you can take it for a spin in your cluster (remember to edit the values.yaml!). Here’s a sample screenshot of our application in action.

Further Work
One possible improvement of this application would be to ship the output to more meaningful sinks like a chat service so any stakeholder can be notified immediately.
We’ve only just begun to scratch the surface of the fun things we can do with the Kubernetes API. We’ll dive deeper into more features that Kubernetes has to offer in the next episodes so stay tuned!