Gitlab Runner using Kubernetes Executor
I was recently involved with setting up a Gitlab pipeline. Imagine this, you still have the usual Gitlab Runner connected to your repository, but instead of running the jobs in a VM, the Gitlab Runner talks to a Kubernetes cluster and spins up the job there instead!
This setup isn’t anything new as there are some entries floating around that already tackles this setup, like this one (visualized below):
+---------------------------------------+ |
What is different with our setup though is that we yanked the Gitlab Runner out of the cluster from the setup above and placed it on a separate machine. Here’s a few reasons why you’d want to do that:
You already have a pre-existing Gitlab Runner running on some machine and you just want add the cluster as another executor.
There’s a possibility that you might be using other executors in the future so you’d like to keep your setup as flexible as possible and not be locked in with your runner inside a cluster.
Our sample setup will look like (to keep things neutral, we’ll be using both AWS and GCP):
+-------------------------+ |
For the recreation, we aren’t going to use any cloud provider specific magic so you should be able to migrate this setup with whatever infrastructure you currently have.
Kubernetes Cluster
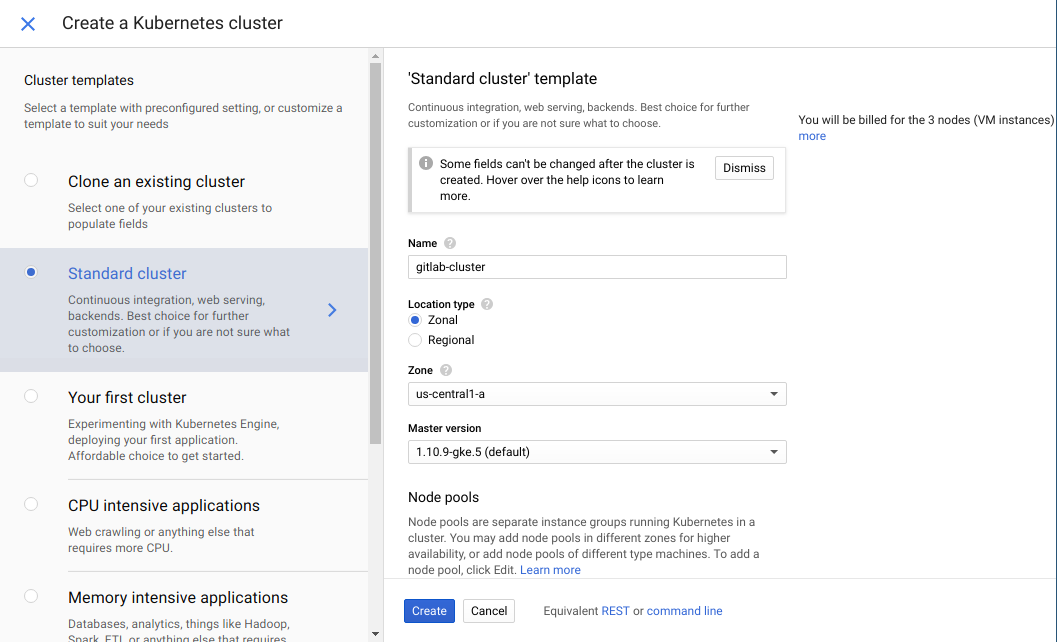
To kick things off, let’s spin up a Kubernetes Cluster using GKE. We’ll just leave all settings to default except the name. Don’t forget to configure your kubectl to the cluster once it is up and running!

Optional Step (only applicable if your cluster is in GKE):
Since we’ll be utilizing RBAC related stuff later, we need to run the following command:
kubectl create clusterrolebinding cluster-admin-binding --clusterrole cluster-admin --user [USER ACCOUNT] |
Where [USER ACCOUNT] is the email you are using for GCP. You can find more about RBAC for GKE here.
The next few steps involves getting some cluster related information that is needed when we setup the Gitlab Runner later.
CA Certificate
The CA Certificate is required since we’ll be calling the API over HTTPS and the TLS certificate associated with the endpoints is self-signed by the cluster.
To get the cluster CA certificate, run the following command:
kubectl config view --raw --minify --flatten -o jsonpath='{.clusters[].cluster.certificate-authority-data}' | base64 -d |
It should look roughly like:
-----BEGIN CERTIFICATE----- |
Roles
We’ll now be creating the Service Account that the runner will use along with the associated roles needed to spin up pods. Our setup follows the Principle of Least Privilege so the roles only lists the absolute minimum API actions required for the setup to work. The Helm template can be found here. Just run:
kubectl apply -f <(helm template runner) |
You can tweak the settings by altering the values.yaml file.
Service Account Bearer Token
Next, we’ll need to pass a credential of sort to our Gitlab Runner so it can authenticate itself as the service account we just made. There are a variety of ways to do this but we’ll opt for the Service Account Tokens route. We are basically going to get our service account’s bearer token and setup Gitlab Runner to use it. To retrieve the token, run the following command:
kubectl get secrets -o jsonpath="{.items[?(@.metadata.annotations['kubernetes\.io/service-account\.name']=='SERVICE_ACCOUNT_NAME')].data.token}" | base64 -d |
Don’t forget to adjust the SERVICE_ACCOUNT_NAME to what you used during the role creation step.
Gitlab Pipeline
Up next, let’s create a Gitlab repository to setup our pipeline. Just commit a file named .gitlab-ci.yml with the following contents:
test: |
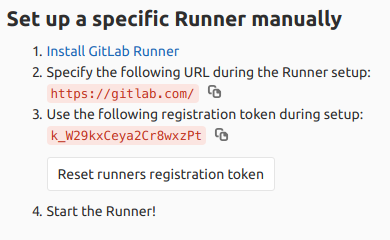
We’ll also need to take note of our CI/CD registration token as shown below:

Gitlab Runner
We’ll now be spinning up an Amazon Lightsail instance (Ubuntu 18.04) where our Gitlab Runner will reside. Make sure to add the following as the launch script for your machine:
|
Take note of the following variables in the script:
CA_CERT- The CA certificate we’ve retrieved from the clusterGITLAB_URL- URL specified by Gitlab in the CI/CD Runners settings pageGITLAB_CI_TOKEN- The registration token shown in the Gitlab CI/CD Runners settings pageKUBERNETES_URL- URL where the cluster can be reachedSERVICE_ACCOUNT_BEARER_TOKEN- The token we’ve also retrieved from the cluster
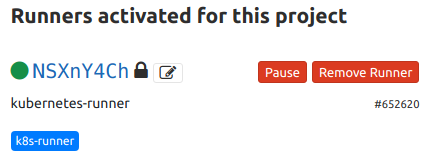
Once the instance is up and running, a runner will be activated for the sample repository:

Taking it for a spin
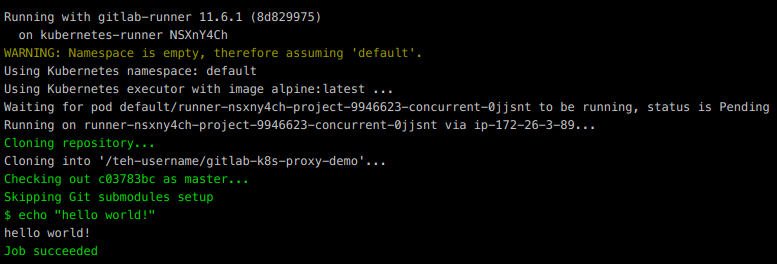
Once everything is setup, go back to Gitlab and under CI/CD -> Pipelines, click Run Pipeline. If you’ve setup everything correctly, you should see the following:

Have fun with your shiny new pipeline!